Wednesday 26 March 2014

Featuring Tattered Lace...

Hello!

Wow, I'm so sorry it's been such a long time again - I've got lots to share with you!

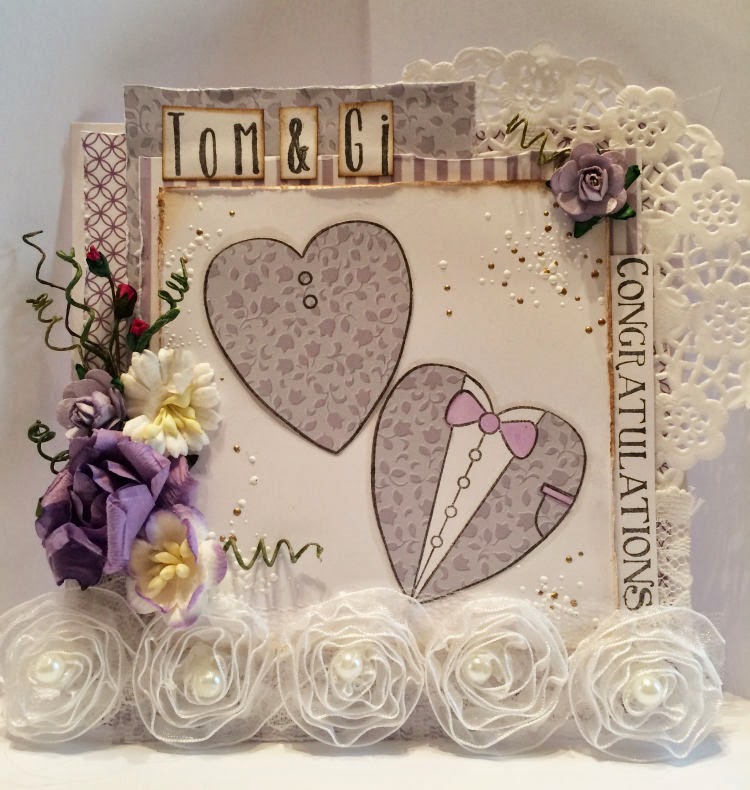
Here are some cards we made for the shows on the 19th, featuring some gorgeous Tattered Lace dies! We hadn't really tried them until a couple of weeks again and honestly can't stop!


Above, I've used the Flourish Doily die, our gorgeous Wedding Hearts stamp set, papers from the Pretty Projects CD Rom & a gorgeous Lasercut doobadoo butterfly!


This card has been made using the Wedding Hearts stamp set again and the Florentine Fancy Edges Set 2


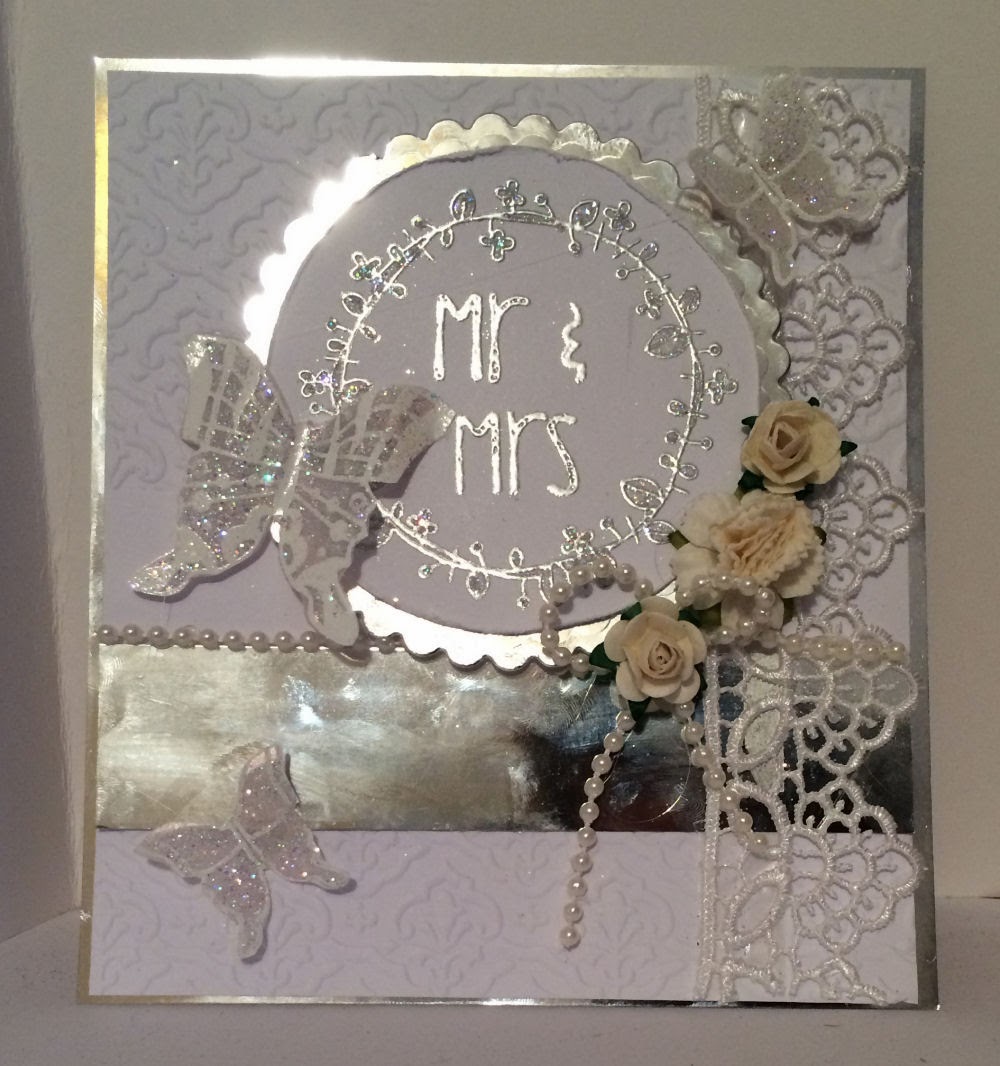
The Dress stamp, Circle Sentiments, Chantilly Tiara die, Flourish Doily and the Florentine Flourishes.


The Letters stamp set, Flourish Doily and another Tattered Lace corner die (sorry, not sure which one!!)

The Letters stamp set, Chantilly Tiara die and the Florentine Flourishes - Kraft card on our website too.


Flowers from the Dress stamp set, The Letters stamp set, Florentine Flourishes and the Beloved Borders (LOVE those - they're so, so useful!)


The Letters stamp set, Flourish Doily and I've also used the corner lasercut doobadoos, and the honeycomb softboard.


Now, the cards below don't particularly have Tattered Lace dies (though if there's anything I don't list that you'd like to know about, let me know!) - they're made using the Letters stamp set which has got to be one of my absolute favourites from the March releases - it's so useful and I find that I can be really creative with words.


And again, below are cards made using the Wedding Hearts which is a super useful set since the hearts are completely separate - that means you can use them for any wedding possible, including two brides & two grooms, which is fab!


Card above also uses the Letter stamp set.


Both cards above use the  Circle Sentiments stamp set too (and the dress card above is gorgeous - making use of the bride stamp and feathers!)


The card above uses the Butterfly Circle stamps too which have been stamped and embossed in white, onto vellum then glittered using Twinklies Diamond glitter.


The below image has to be one of my favourites too - the tree is from the Heart Tree set and has been glittered - the glitters used are Fresh Grass and Strawberry Sauce, two exclusive colours which we will be launching very, very soon! 


And finally... some more sneak peeks for Fridays shows!


Catch you soon!

Hayley xx


Sunday 9 March 2014

My Paper Stash: Envelope Crafter Review

Hello!

Well today I've got something a little different, I was asked to give this product a go and write a review for you! I may make this a regular thing if it's something you enjoy reading - here goes...


My Paper Stash Envelope Crafter
www.crafting.co.uk


I make a lot of cards from A4 sheets that I fold in half, then trim down to 5.5” square, 13.2cm square, etc (I very rarely actually buy card blanks with matching envelopes) and then struggle when sending cards. Of course, most are samples and never get sent but if I were to send them, I’d probably be quite lazy… I’d buy a C5 envelope, fold it & cellotape it to fit.

I’ve tried envelope tools before and ended up with small tabs to attempt to glue together, not-quite-level flaps to fold in and then ultimately… my card won’t fit! I didn’t have that problem at all with the Envelope Crafter – on my first attempt, I got my strangest dimensions (it was a 3” x 6” rectangular card that I had to hand), grabbed an A3 sheet of paper (to be on the safe side!) and followed the instructions… guess what? It worked! First time!

The fab thing about this tool is that the instructions are printed on it – now, I’m the type of person that can grasp something pretty quickly but as soon as I’ve slept on it, I need the instructions to remind me until I’m using it every day – and that’s exactly what I’ve got. And I don’t mean just on the packet (because we all know that goes straight in the bin out of excitement – or atleast all of mine do), it’s printed onto the plastic itself and won’t scratch off.

Also, what if I wanted to take it to a workshop with me? I’ve got the smallest amount of room in my bag which is already jammed full of the necessities… but this is flat, folds together to save room… and will fit on top (or down the side!) of my bag. Plus it’s a durable plastic, which means it won’t lose shape if I manage to get it into an awkward spot.

I feel like I’m going to be making envelopes for every card I can find now, just because I can! If you’re like me and have been a lazy envelope maker in the past, this is definitely for you! It’s easy to use, easy to store and durable – all you need is a pencil and a bone folder (probably not even the latter – a straight edge to fold the creases works fine!) and you’re set!

You can pick up the envelope crafter for just £24.99 from Crafting or from Create & Craft (click the shop for a direct link).

Hope this is helpful!

Hayley xx