
Here is the card I'm going to step-by-step guide you on how to make!

Here are all of the items you will need to make this card!

1) First, take your white card and mark two pieces. The largest piece is 4.5"x8" (11cmx21cm) which is going to be your base card, and the smaller piece is 3.75"x6.5" (8cmx17cm) which will be your insert.
Here is how we fit them onto the sheet of card:


6) Now, take your smaller piece of card and cover the shorter side, when folded, in plain paper:

7) Now, we are going to layer up our main image. I find it easier to trim around the tree and layer up rather than layering from the card and finding that my main image is too large to fit! First, I'm going to layer my tree onto patterned paper:


8) Now, I'm going to add this to the red part of my smaller piece of card:

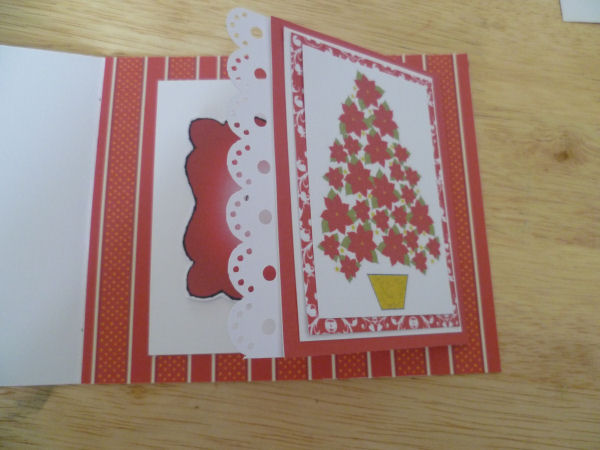
9) Now, take your paper lace and lay this down the edge of your red card front like so:

10) Now, I'm going to cut out my plaque insert and stick this inside the little card we've made:


11) Now, stick your little card inside the flap of your larger piece of card like this:

12) Now, add your sentiment tab down the right-hand side of your card like this:

13) Now, add your decorations down the left-hand flap (swirl & poinsettias):


14) Now, add your leaves and mini-poinsettia onto the main topper and you're finished!:


Your finished card!
See you soon!

No comments:
Post a Comment